You can use Insteon sensors to automatically control devices. The steps in this article detail how to configure a Motion Sensor to automatically turn a lamp on and off. You can use the same steps to control lights and appliances with other Insteon sensors.
Step 1
Navigate to Scenes and tap the plus button on the top right of the screen to add a new scene.
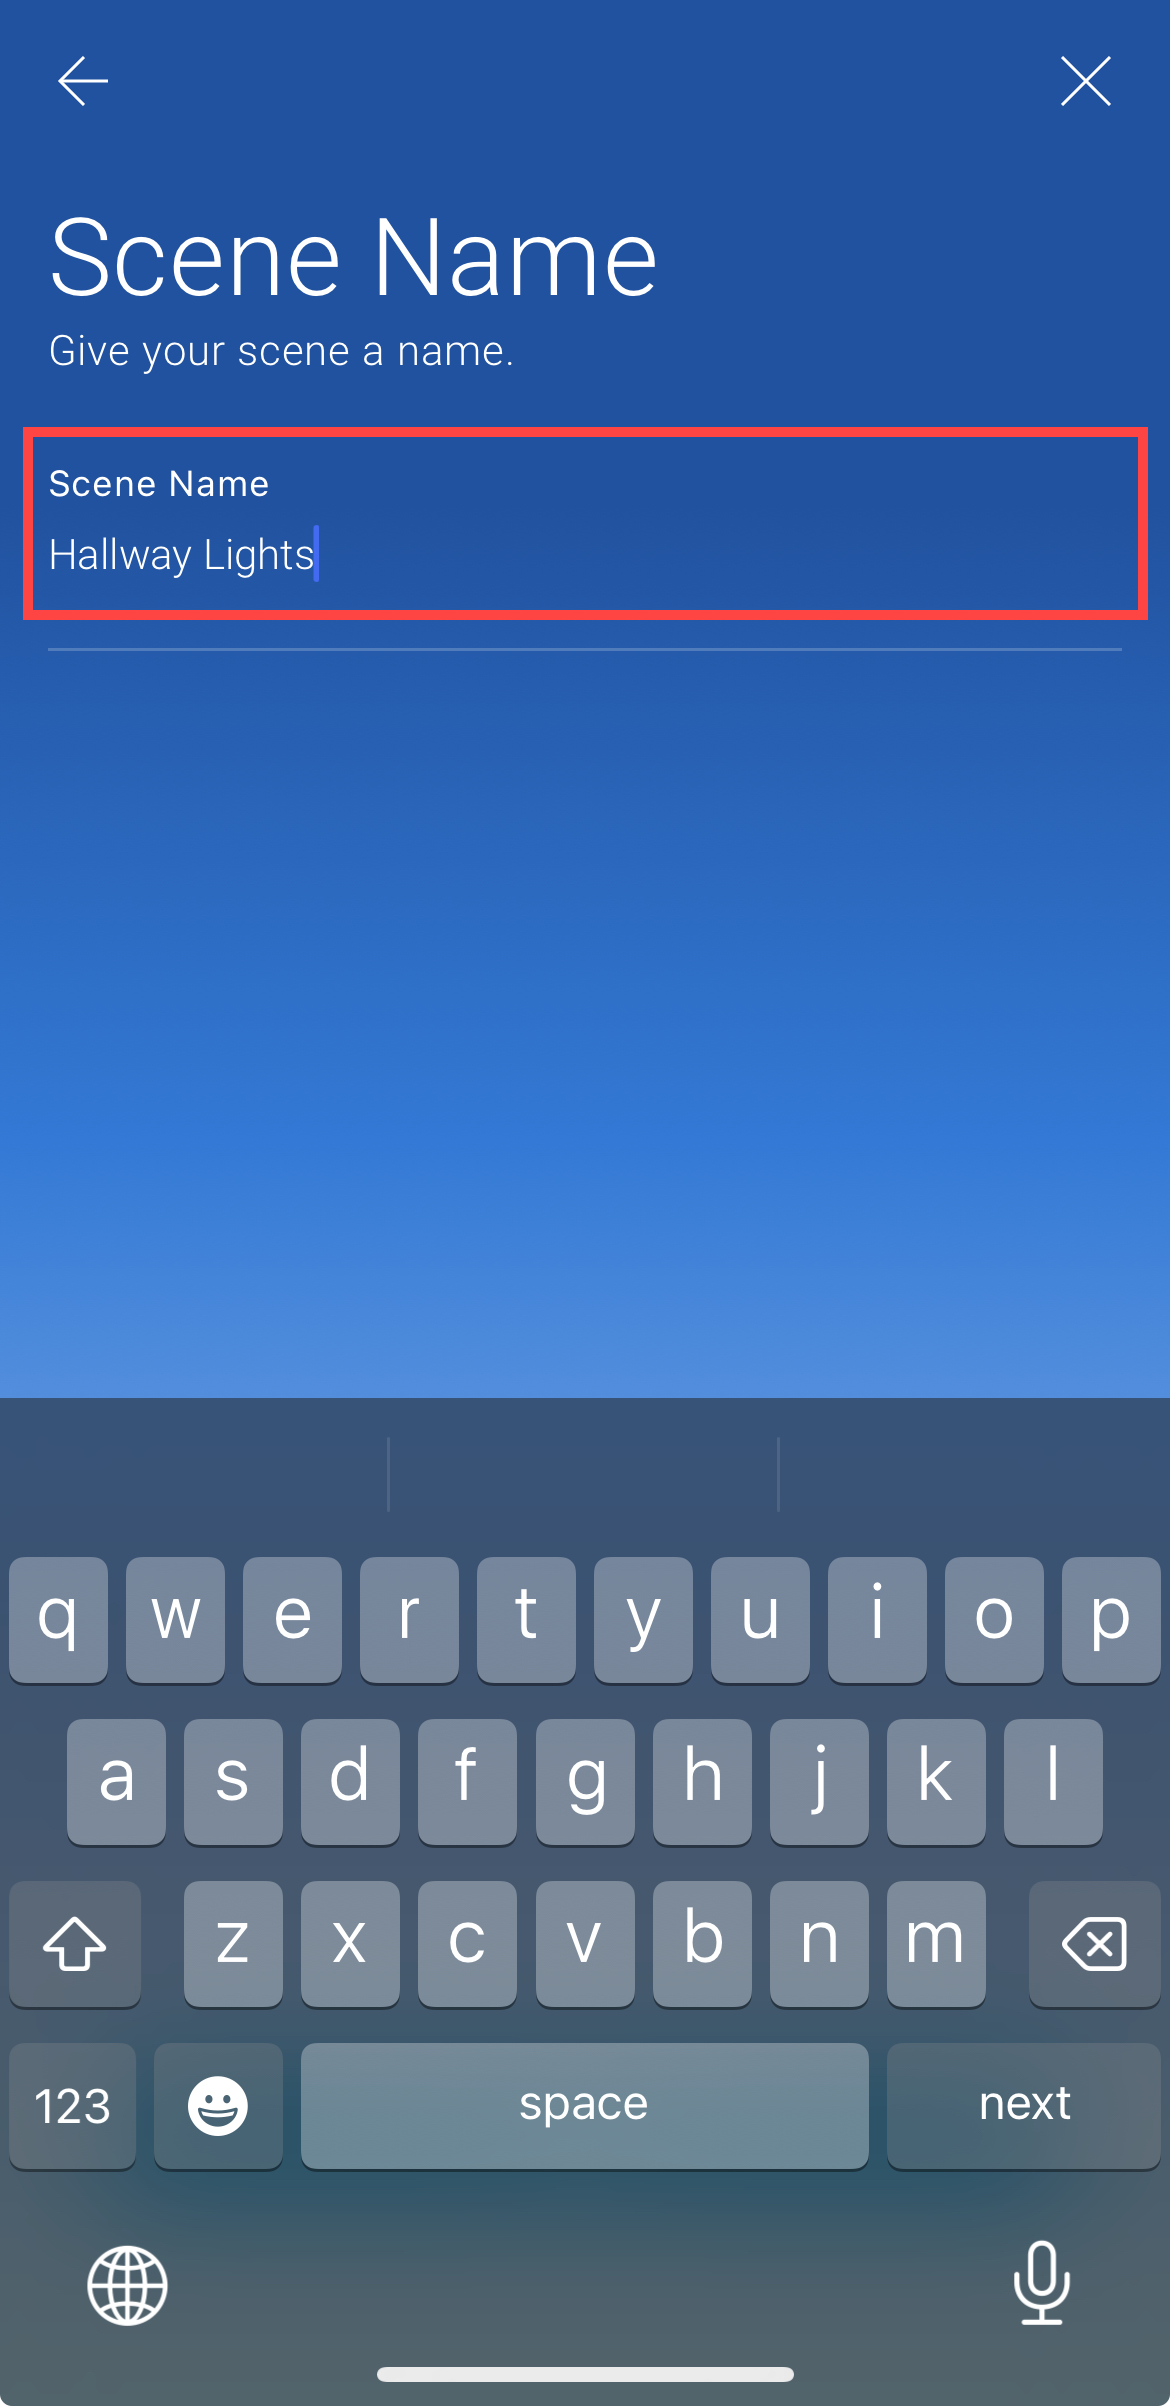
Give your scene a name, and tap Next.
Step 2
When creating a scene, you’ll be asked to pick how the scene will be controlled. We call scene controllers “Directors.” These directors can be any device, whether a button on a keypad, a wall switch, or sensor.
Select When a sensor is activated option.
When ready, tap Next.

Step 3
After tapping Next, you will be shown a list of your devices referred to as “Actors” that can be selected to respond to the scene. Select the devices you want your sensor to control.
When finished, tap Next.

Step 4
You’ll see a list of your selected devices.

Step 5
You can tap on the shortcut reactions which is helpful when you want to apply the action across all scene actors.
Otherwise, tapping the name of a device will expand to show you what actions you can define.
Dimmable devices have options for setting a percentage for dimming and Fade Speed, which determines how much time it will take to get to the dimming percentage.
When finished, tap Next.

Step 6
Here you’ll see a summary of the Scene Directors and Actors where you can make any edits.
When ready, tap Save Scene.

Step 7
If your scene includes battery-powered devices like a Motion Sensor or Door/Window Sensor, you will be prompted to set your device to linking mode.
Follow the on-screen prompts to complete the scene creation.

Other Articles that Might be Helpful


Insteon Hub lets you schedule lights and appliances to turn on and off throughout the day...