Sensor No Response - Troubleshooting Sensor Communication Issues
Motion Sensor II - Owner's Manual

Motion Sensor II - Quick Start Guide

Motion Sensor II Setup
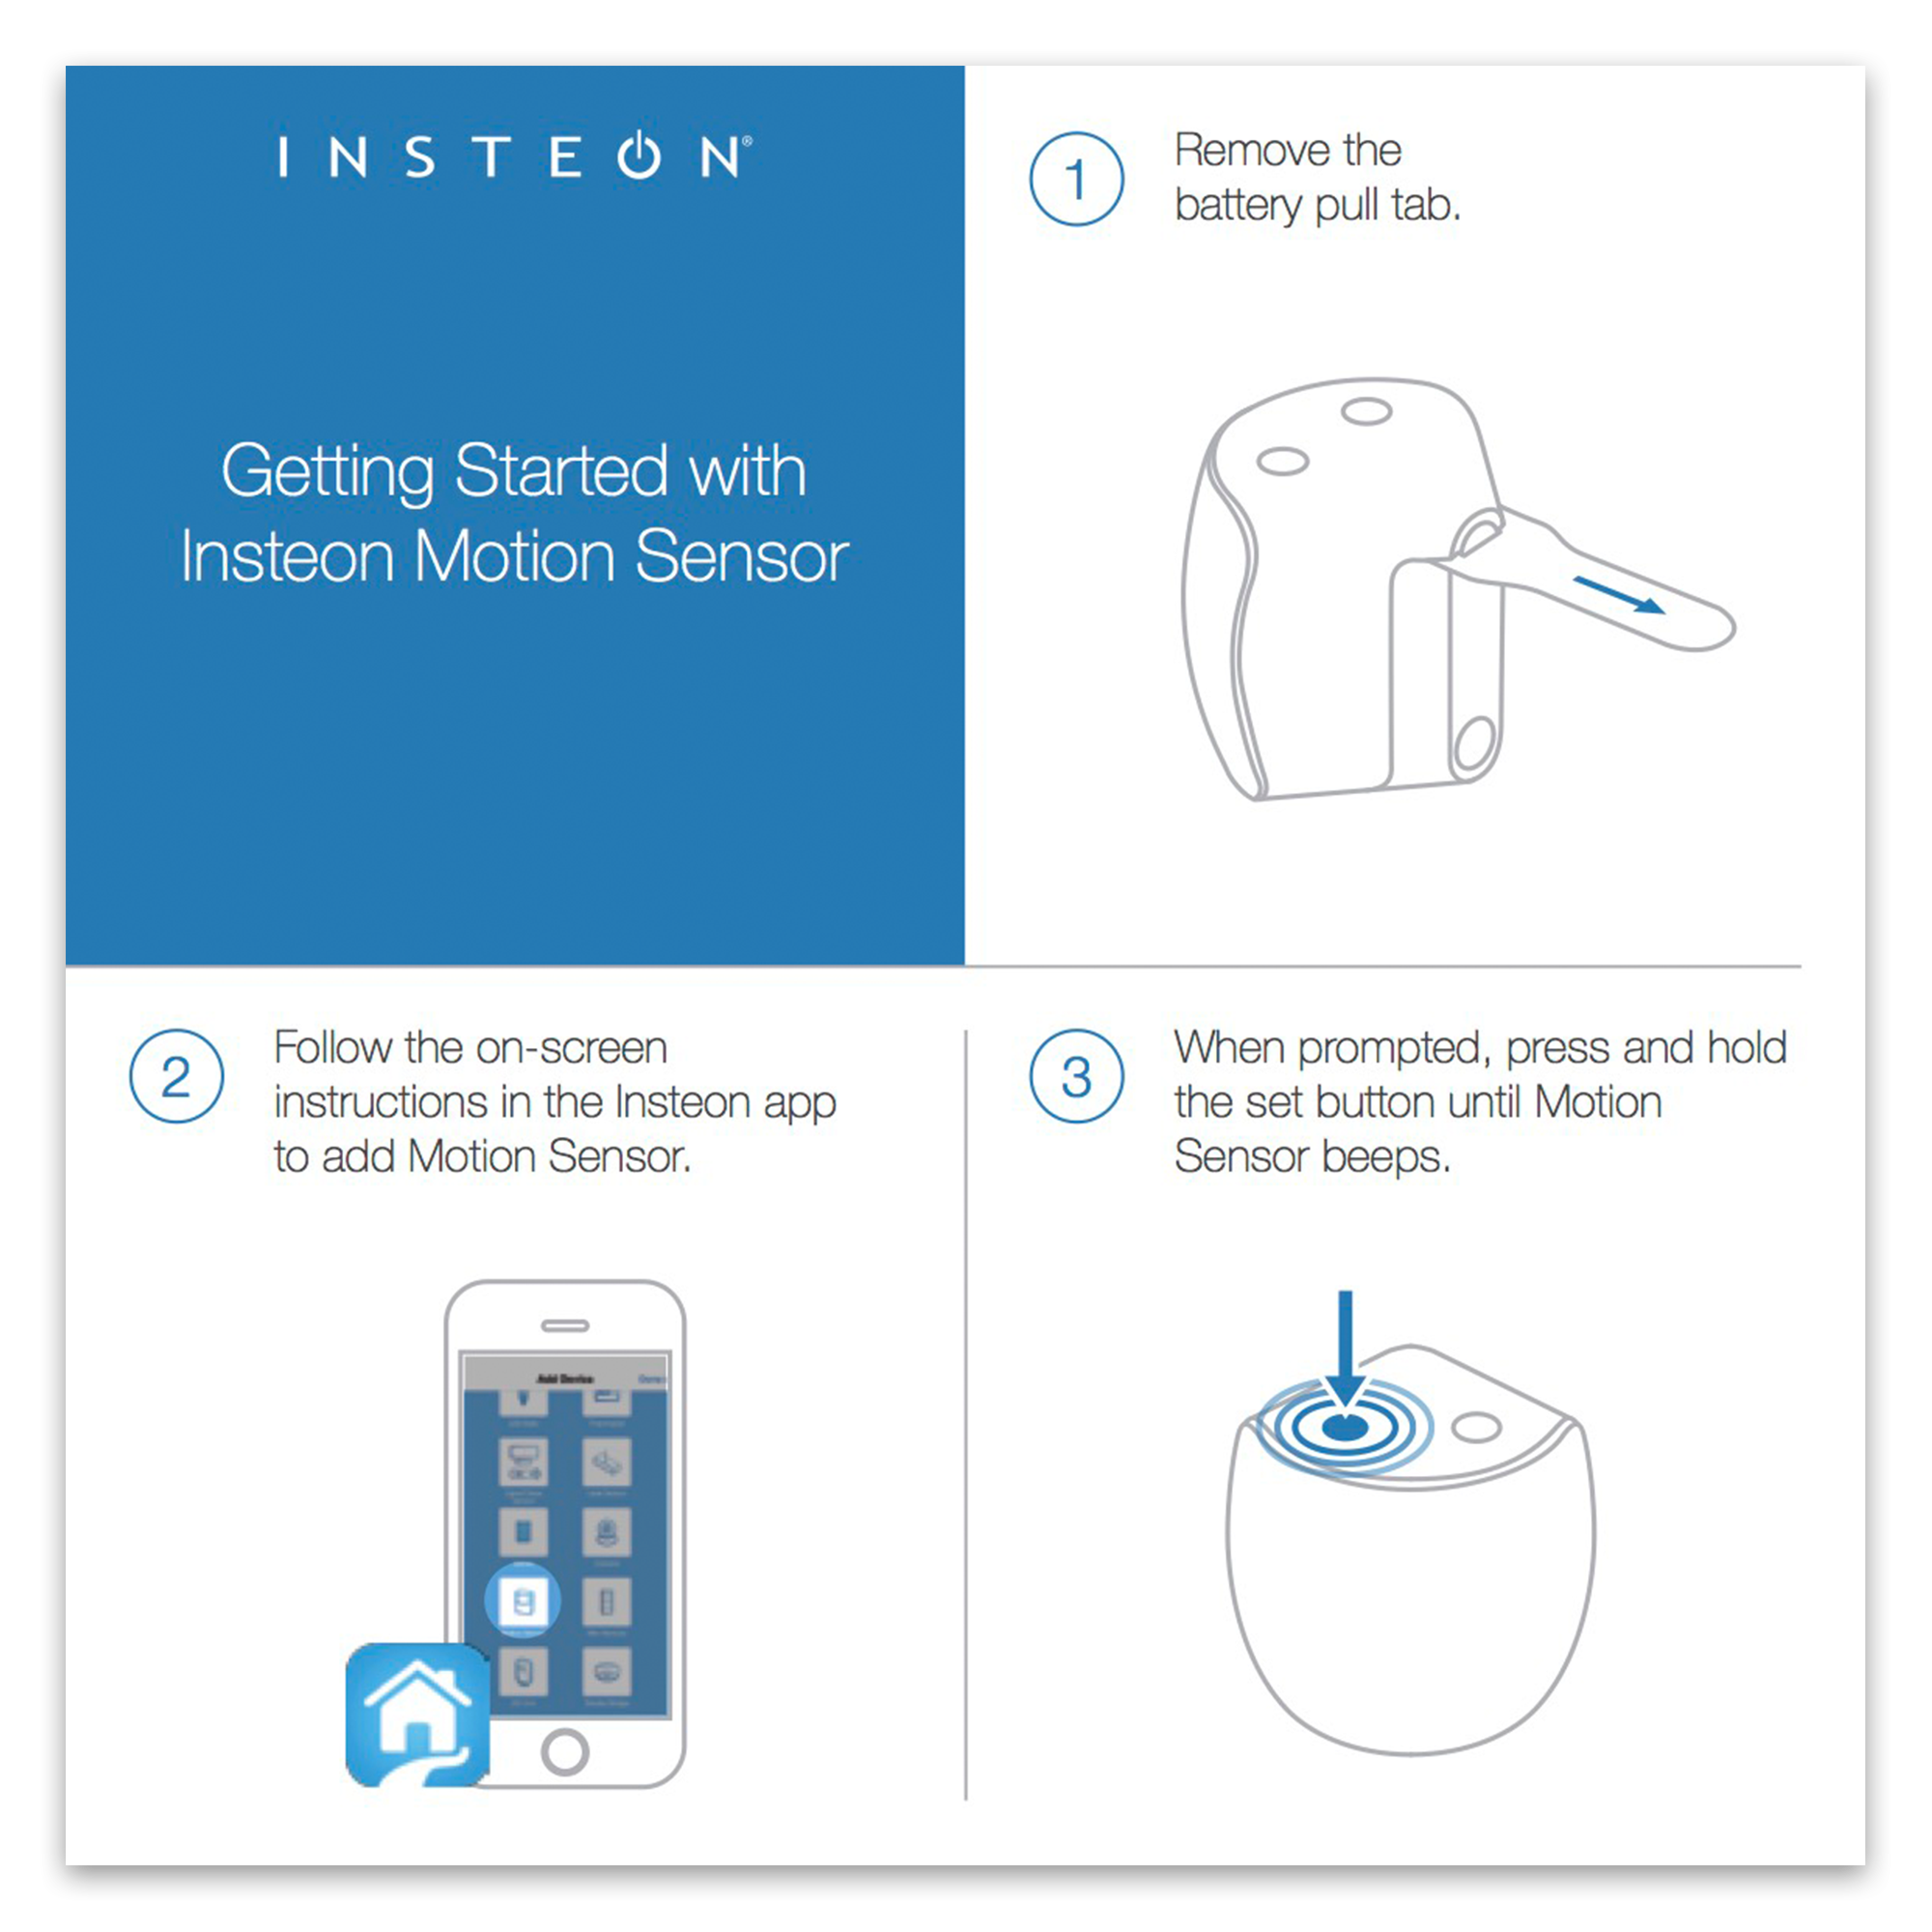
Getting Started
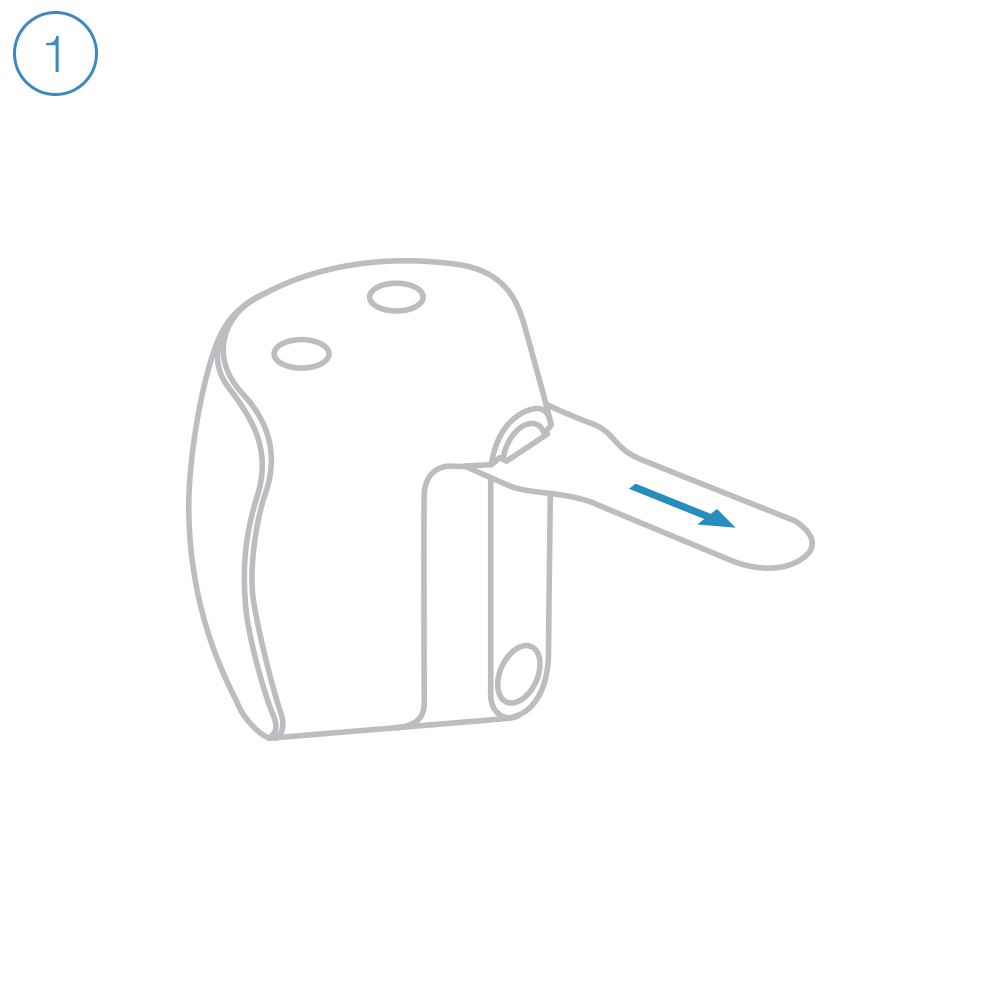
Remove the battery pull tab.
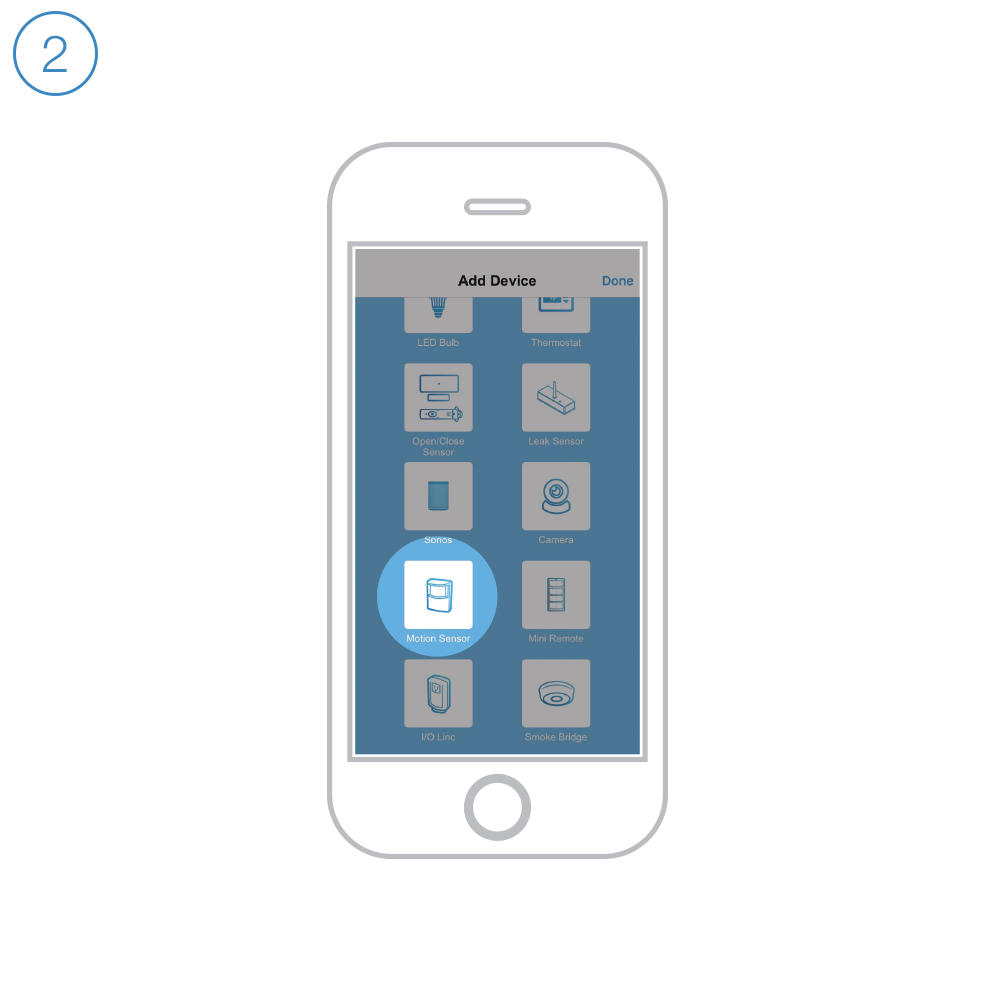
Follow the on-screen instructions in the Insteon app to add Motion Sensor.
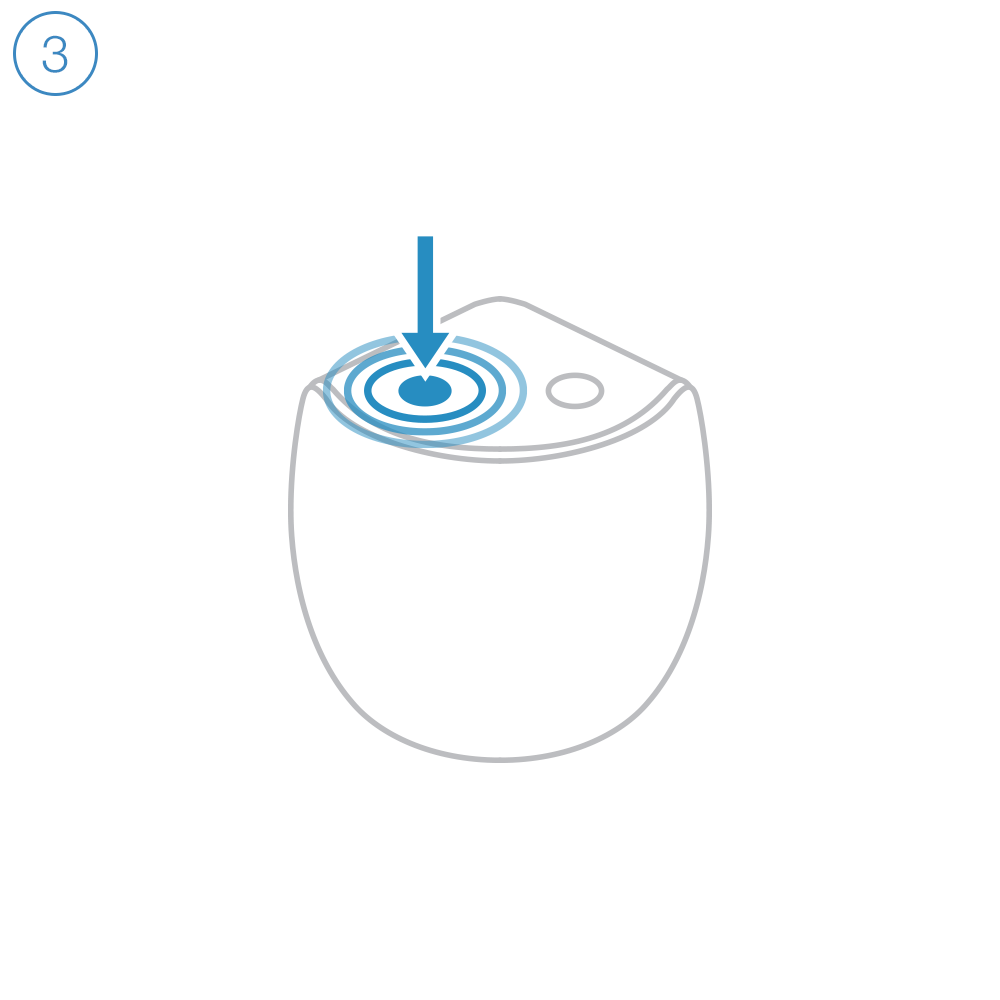
When prompted, press and hold the set button until Motion Sensor beeps.
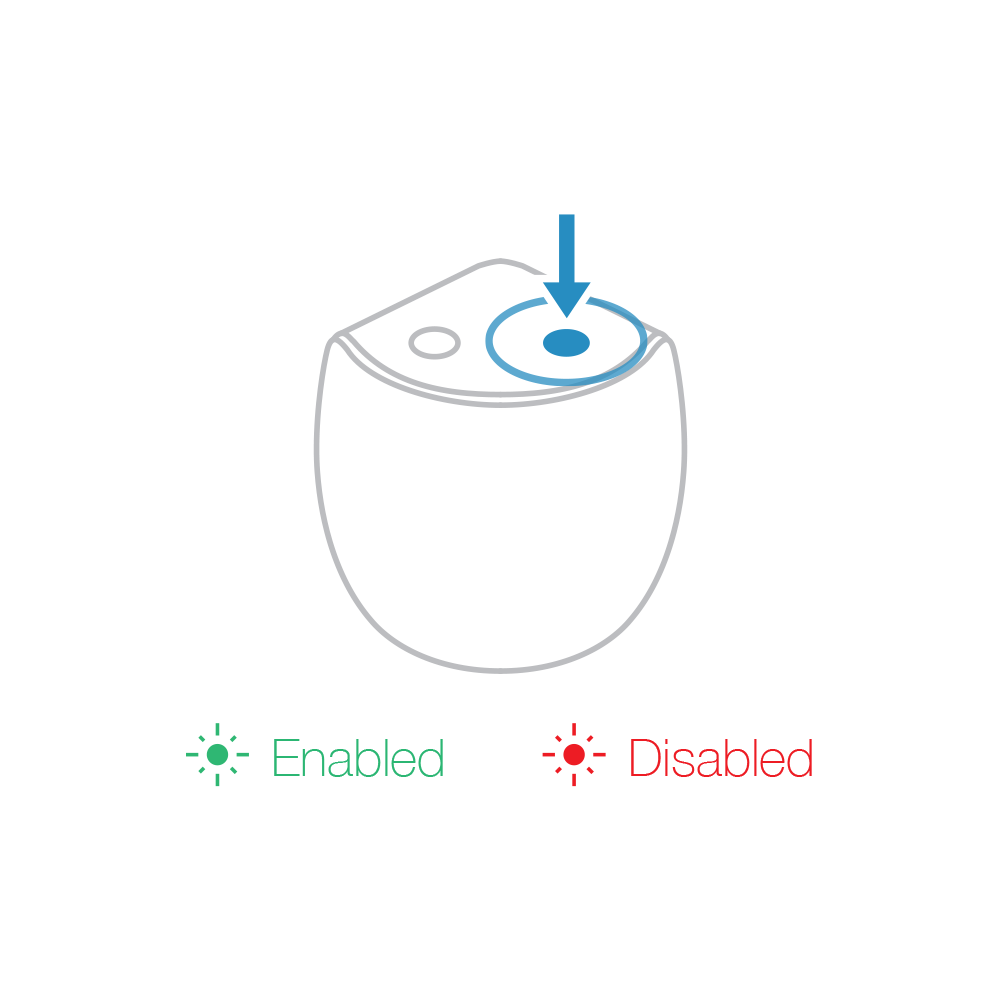
Tap the Motion button to enable or disable motion detection. Default disable time is 12 hours after which motion detection will resume.
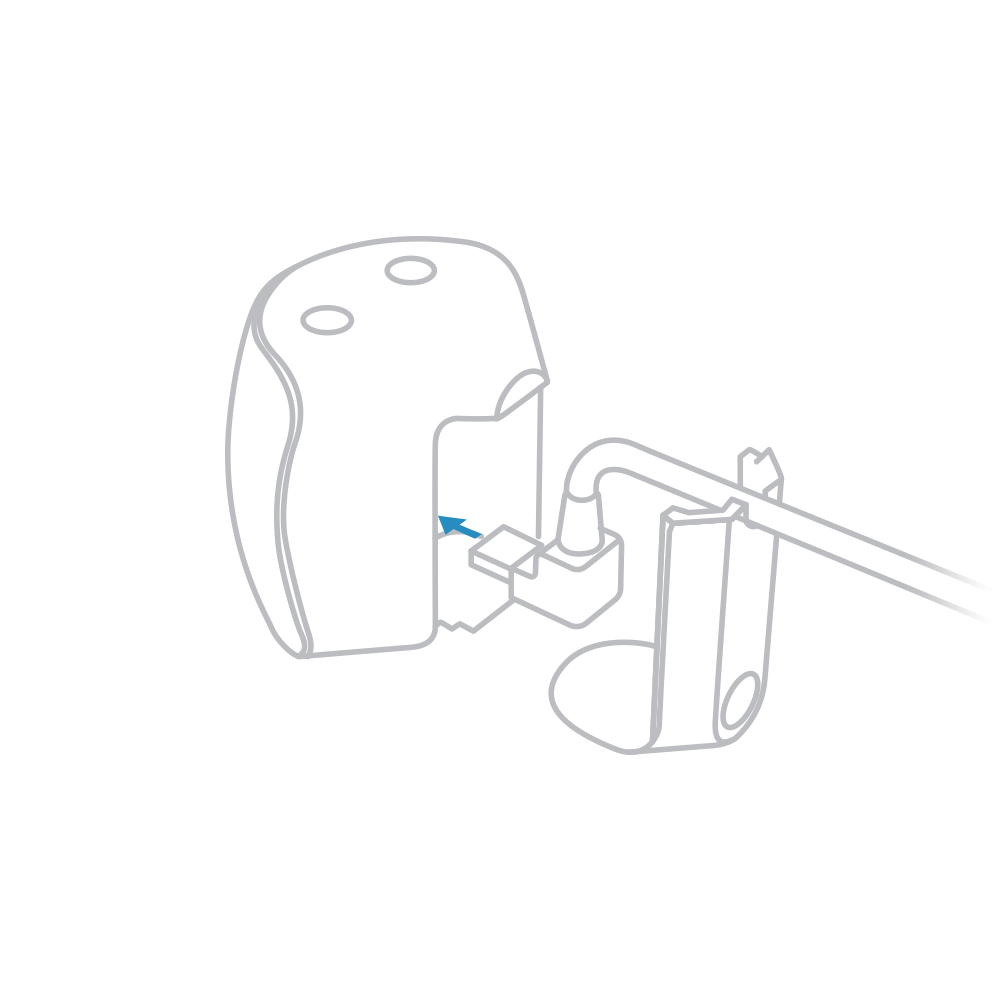
Motion Sensor can be connected to power with an optional Micro USB cable (sold separately).

Use the reusable mounting strips for corner placement.
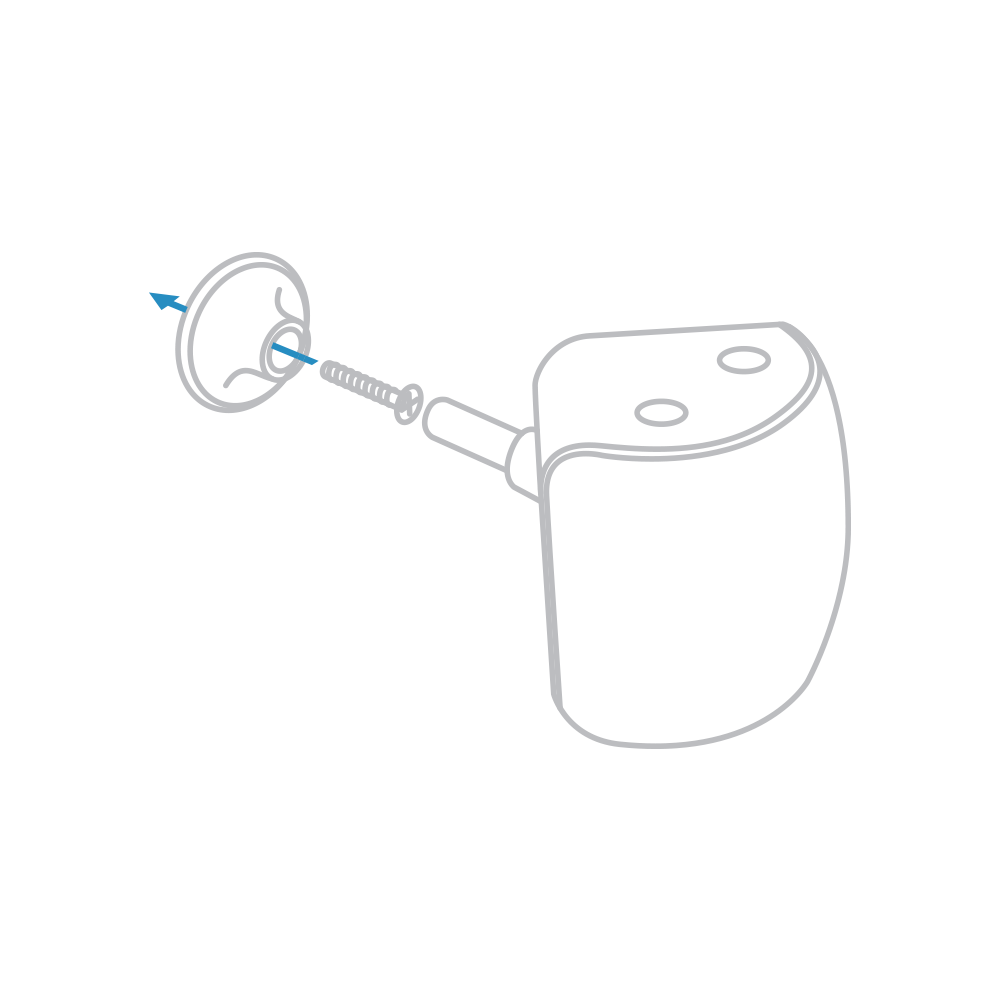
For precise positioning, use the flexible mount.
Guides and Manuals
Quick Start Guide
Featured
Owner's Manual
Featured

Going Further


Monitor Your Home with Email or Push Notification Alerts
Automatically Turn Lights On and Off with Sensors
Leak Sensor Troubleshooting - Not Receiving Alerts
After adding your leak sensor to the Insteon for Hub app, you may occasional encounter a situation where you do not receive alerts. There are several reasons why this might occur.
- Alerts are not enabled in the Insteon for Hub app
- Your leak sensor is out of range
- Your leak sensor battery is dead
- Leak sensor has malfunctioned
To troubleshoot this issue, please try the following:
Confirm Leak Sensor and Hub are Communicating
Without moving the leak sensor from its current location, tap the set button on the device.
If the leak sensor blinks at all, you should have received an alert.
- If no alert was received, confirm alerts are enabled for the leak sensor. See how to do this at the end of this article.
- If you still did not receive and alert, move the leak sensor closer to the hub and try again. If the alert is received, the sensor is functional but out of range from the hub. A repeater is necessary.
- If you still did not receive an alert, replace the battery in the leak sensor. If you still do not receive an alert, the leak sensor has failed and must be replaced.
If the leak sensor blinks once, pauses then blinks multiple times:
- Leak sensor is functional but is unable to communicate to a linked device (hub or other receiver). Remove the leak sensor from the app, factory reset the leak sensor, then add to the app once again.
- If you are not able to re-add the leak sensor to the app, move the sensor closer to the hub and try again. If adding to the hub succeeds, your leak sensor was out of range at its installed location and a repeater is necessary.
- If you are still not able to add the leak sensor, the unit has failed and must be replaced.
If the leak sensor doesn’t blink:
- Replace the battery and try again.
- If the leak sensor still doesn’t blink, the device has failed and must be replaced.
Confirm Alerts are Enabled for iOS
- In the Insteon App, navigate to Settings
- Tap Devices
- Tap the desired device
- Tap Alerts
- Ensure that the switch for the desired alert is enabled then tap Message & Recipients
- Ensure that the switch for Push Notification is enabled
Using the Insteon Motion Sensor with the Insteon Hub
When you add the Motion Sensor (2842-222) to the Insteon for Hub application, your motion sensor will have extra settings for you to use. These options can be changed at any time by navigating to the Device's settings.
Tap on the motion sensor. These extra settings can be found by tapping "Device Options." After you expand the options you will see the following:
- Motion LED – This option turns off the red PIR light that flashes in the front of the motion sensor when it detects motion. (It will still operate during setup)
- Night Only – Tells the motion sensor that you want it to work only at night.
- Motion Countdown – The amount of time that a motion sensor will wait before telling linked devices to turn off.
- Light Sensitivity – How sensitive the motion sensor is to detecting light. The lower the number, the less light is needed for the motion sensor to detect daytime while the higher the setting, more light is needed for the motion sensor to read daytime.
- Occupancy Mode – During normal operation, once the countdown is triggered from the motion sensor, the motion sensor will ignore all other motions until the countdown reaches zero, and then the connected devices are turned off. With “Occupancy Mode” enabled, when the motion sensor detects motion, it will restart the countdown timer over and over again until movement is no longer detected.
- On Only Mode – This mode causes the motion sensor to only send the “ON” command and ignore the countdown. The customer will be responsible for turning off the light when they leave the room.